Setting Up Your First Turntable: A Beginner's Guide to Vinyl
- 13 Mar, 2026
Playing a record is a different experience from tapping play on a streaming app. You choose an album, look at the artwork, drop the needle and listen from start to finish. If you are thinking about getting into vinyl, the good news is that a simple setup is easy to put together. This guide walks through the main choices and how to get your first turntable sounding its best.
Choosing a turntable
There are a few key differences between turntables that are worth understanding before you buy.
- All-in-one record players have built-in speakers and are the simplest way to start. They are compact and easy to use, which makes them popular as gifts and for bedrooms.
- Belt drive turntables use a rubber belt to spin the platter. The motor sits to one side, which helps keep vibration away from the stylus. Many home listeners choose belt drive for relaxed listening.
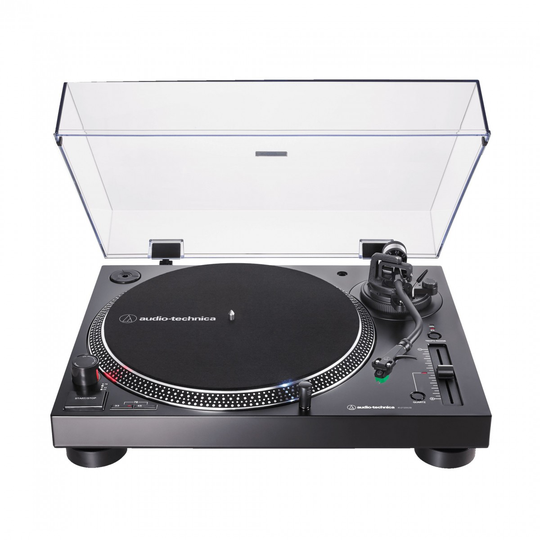
- Direct drive turntables have the motor directly under the platter. They start quickly and hold their speed well, which is why DJs often prefer them. A model such as this direct drive turntable with USB works for home listening and lets you record your records to a computer.
If you plan to scratch or mix, look at direct drive. If you just want to enjoy albums at home, either type can work well.
What else you need
A separate turntable needs a few other parts to make sound.
- A phono preamp. The signal from a turntable cartridge is very quiet and needs a phono stage before it reaches an amplifier. Many modern turntables have one built in, often with a switch on the back. If yours does not, you will need a separate preamp or an amplifier with a phono input.
- Speakers. Powered speakers with their own amplifier are the simplest choice. Passive speakers need a separate amplifier. Some turntables also support Bluetooth, so they can send music to a wireless speaker.
- Cables. Most turntables connect with RCA cables. Check that you have the right ones and that they are long enough for your layout.
Setting it up properly
A little care during setup makes a clear difference to sound quality and to how long your records last.
- Find a stable, level surface. Turntables are sensitive to vibration. Avoid placing yours on the same shelf as the speakers, and use a small spirit level to check that it sits flat.
- Fit the belt or platter. Follow the manual carefully, especially if the belt needs to be fitted around the motor pulley.
- Balance the tonearm. Many turntables have a counterweight that sets the tracking force. Set it to the value recommended for your cartridge. Too light and the needle may skip, too heavy and it can wear your records faster.
- Set the anti-skate. If your turntable has an anti-skate control, set it to match the tracking force as a starting point.
- Choose the right speed. Most albums play at 33⅓ rpm and most 7-inch singles at 45 rpm. Check the label if you are unsure.
Caring for records and stylus
- Hold records by the edges and the label to avoid fingerprints on the grooves.
- Brush dust off with a carbon fibre or anti-static brush before playing.
- Store records upright, away from heat and direct sunlight.
- Keep the dust cover closed when the turntable is not in use.
- Clean the stylus gently from back to front with a soft stylus brush, and replace it when the sound starts to become dull or distorted.
Once your setup is in place, the fun part begins: building a record collection. Take a look at our turntable category to compare models for every budget and listening style.